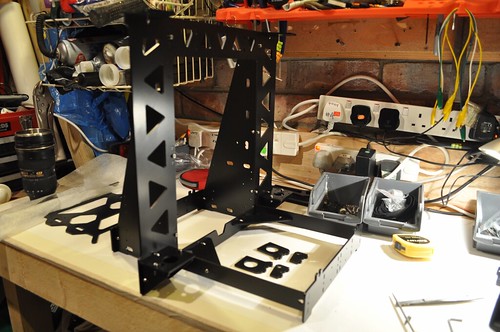
I've started assembling the P3Steel 3d Printer I've bought, here's where I'm up to as of Dec 20th;
Assembling the frame went easily, the frame seems straight, the paint hasn't chipped and there's not too many sharp edges or flash. I haven't used washers for most of the captive fastenings.
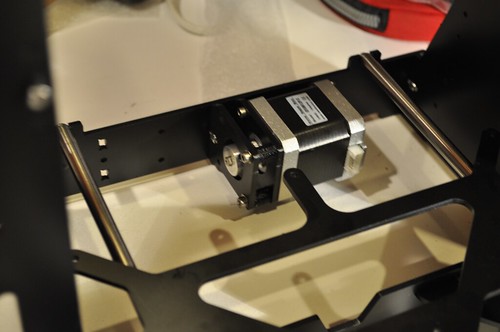
Assembling the Y axis motor and idler went ok. The kit includes four printed spacers, that could either all be for the motor, or could all be to mount the RAMPS later, or half and half. In the end I mounted the motor to one plate, then mounted the gear, then attached the other plate and two spacers. This eems to work, although the belt squeezes against it at the motor end. I also didn't follow the reprap wiki suggestion to 'tap' the y axis smooth rods in from one end completely, instead removing one end, placing the y axis rods, then re-attaching the end plate. I think this is less likely to scratch the rods and everything still seems square.
Assembling the X axis took longer than expected, the kit includes a different X idler than the wiki or most videos show that includes a built in tensioner. it took me a while to work out what hardware to use and in what order
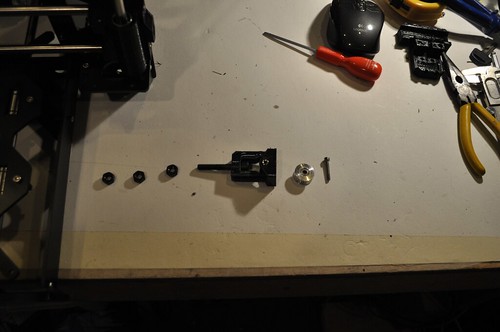
Eventually I also found the BQ Prusa instructions which do resemble the X Axis.
I attached the X axis to the Z axis which went well. I ended up attaching the Z motors three times (connectors should face the frame, and cables need to be connected before mounting the motor)
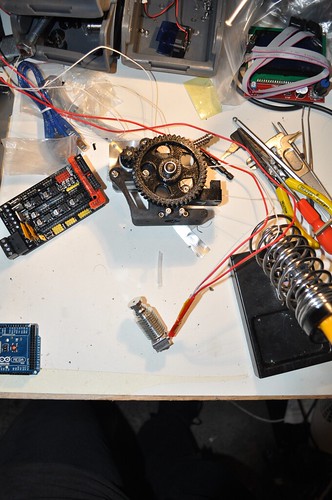
I assembled the Extruder, which went ok. The hobbed bolt has threads on either end so I could turn the nuts on each end to align the hobbing with the filament hole.
I also assembled the hot end. It seems to be an E3D 'style' v5 or v6. The thermistor is held in with a screw, and I added a m3 washer to hold it better. I'll need to extend the wires for the hot end fan.
The hot end attaches to the extruder with two m3 bolts to 'pinch' it in place, however the kit also includes a short length of plastic tube (polypropylene, deffo not PTFE) with a bevel on one end. The tube is too long to fit in the extruder, and the hot end doesn't have a large enough bore to hold it, so I suspect the tube goes inside the extruder but needs trimming, but I'm not sure. (answers on a postcard)
So thats where I'm up to. Next steps are
- Fix the extruder to the X carriage
- Route cables
- Install electornics
- Install endstops
- configure the RAMPS